5 Hole Wall Socket Installation: A Step-by-Step Guide for DIY Enthusiasts
Classification: Industry News
Time:2025-03-14
5 Hole Wall Socket Installation: A Step-by-Step Guide for DIY Enthusiasts
Installing a 5 hole wall socket can seem like a daunting task, especially for those without previous electrical experience. However, with the right tools and guidance, this project can be completed efficiently, enhancing both the functionality and convenience of your electrical outlets. This guide provides a detailed, step-by-step approach to installing a 5 hole wall socket safely and effectively.
Table of Contents
- Understanding 5 Hole Wall Sockets
- Tools and Materials Required
- Safety Precautions Before You Start
- Step-by-Step Installation Process
- Common Mistakes to Avoid
- Maintenance Tips for Wall Sockets
- Frequently Asked Questions
- Conclusion
Understanding 5 Hole Wall Sockets
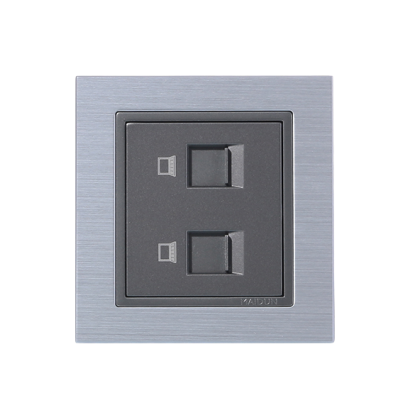
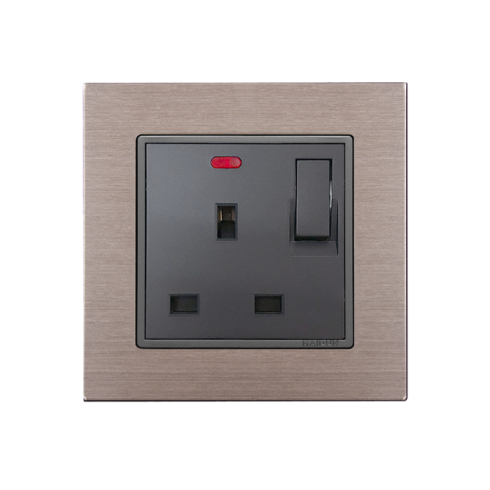
5 hole wall sockets, often known as multi-functional outlets, provide more connectivity options than standard sockets. They allow users to plug in various devices simultaneously, making them ideal for modern households that rely on multiple electronic devices. These sockets typically include a mix of different plug types, catering to various electrical standards.
Tools and Materials Required
Before starting your installation, ensure you have the following tools and materials on hand:
- 5 hole wall socket
- Screwdriver (flathead and Phillips)
- Wire stripper
- Electrical tape
- Voltage tester
- Power drill (optional, for new installations)
- Wire connectors (if needed)
Safety Precautions Before You Start
Safety should always be your top priority when working with electrical components. Follow these precautions:
- Ensure the power is turned off at the breaker box before beginning any work.
- Use a voltage tester to confirm that the power is off.
- Wear insulated gloves and safety goggles to protect yourself from potential hazards.
- Work in a dry environment to minimize the risk of electrical shock.
Step-by-Step Installation Process
Turn Off Power
The first and most crucial step is to turn off the power supply to the existing wall socket. This action can be performed at the circuit breaker box, ensuring that the specific circuit for the outlet you are working on is completely shut off.
Remove the Existing Socket
Using a screwdriver, remove the screws holding the existing socket in place. Gently pull the socket out of the wall and disconnect the wires attached to it. Make sure to note how the wires are connected—taking a photo can help for reference later.
Install the New 5 Hole Socket
Now that the old socket is removed, it’s time to install the new 5 hole wall socket. Follow these steps:
- **Connect the wires to the new socket** according to the configuration that matches your previous socket. Typically, you will connect the live wire (usually red or brown) to the live terminal, the neutral wire (usually blue or black) to the neutral terminal, and the ground wire (green/yellow) to the ground terminal.
- **Secure the wires** with wire connectors, ensuring that they are tightly fastened to prevent any loose connections.
- **Position the new socket** back into the wall opening and secure it with screws. Make sure it sits flush against the wall.
Test Your Installation
Once everything is securely in place, it’s time to restore power at the breaker box. After turning the power back on, use a voltage tester to ensure that the new socket is functioning properly. Plug in a device to confirm that it receives power as expected.
Common Mistakes to Avoid
Even experienced DIYers can make mistakes. Here are some common pitfalls to watch out for:
- **Not turning off the power**: Always double-check that power is off before starting your work.
- **Incorrect wiring**: Failing to connect wires to the correct terminals can lead to electrical hazards.
- **Over-tightening screws**: This can damage the socket or the wall, leading to more costly repairs.
- **Neglecting to test the socket**: Always test your installation before considering the job complete.
Maintenance Tips for Wall Sockets
To ensure the longevity and safety of your wall sockets, follow these maintenance tips:
- Regularly inspect the outlet for signs of wear or damage, such as cracks or discoloration.
- Keep the socket clean and free from dust accumulation, which can lead to overheating.
- Avoid overloading the socket with multiple high-wattage devices.
- Consider using surge protectors to safeguard your electronics from power surges.
Frequently Asked Questions
1. Can I install a 5 hole wall socket myself?
Yes, as long as you follow safety precautions and have a clear understanding of electrical wiring. If you're unsure, consider hiring a professional electrician.
2. What tools do I need for this installation?
You will need a screwdriver, wire stripper, voltage tester, electrical tape, and potentially a drill for new installations.
3. How do I know if my home is compatible with a 5 hole socket?
Check the voltage specifications and wiring of your home. Most modern homes support various socket types, but it's wise to verify compatibility before purchasing.
4. What should I do if the new socket doesn't work?
First, ensure that the power is on. Then check all wire connections for tightness and correctness. If problems persist, consult a professional electrician.
5. Are there any safety standards I should be aware of?
Yes, it's essential to follow local electrical codes and standards to ensure safety and compliance. Always consult a licensed electrician if you're unsure.
Conclusion
Installing a 5 hole wall socket is a straightforward process that can significantly improve the functionality of your home’s electrical system. By following this step-by-step guide, you can confidently tackle this DIY project while ensuring safety and compliance. Remember to take all necessary precautions, avoid common mistakes, and maintain your sockets regularly for optimal performance. Happy DIYing!
Keyword: 5 Hole Wall Socket Installation: A Step-by-Step Guide for DIY Enthusiasts
RELATED INFORMATION
Transform Your Space with Elegant Silver Wall Sockets: A Comprehensive Guide
Transform Your Space with Elegant Silver Wall Sockets Introduction to Silver Wall Sockets Silver wall sockets have become a popular choice for homeowners aiming to blend functionality with style. These sleek, modern electrical fittings are not only practical but also serve as an essential design element in any room. In this comprehensive guide, we will delve into the advantages, design options, an
2025/10/23
Understanding Wall Switch Sockets: Essential Components for Modern Electrical Systems
Wall switch sockets are essential components in electrical systems, providing convenient access to power while offering control over electrical devices. These fixtures are commonly used in residential and commercial settings, playing a significant role in the functionality and safety of electrical installations. Understanding their features and types is crucial for professionals in the building an
2025/10/16
ONLINE MESSAGE


